Note
This guide applies to Steeltoe v2. Later Steeltoe versions do not support .NET Framework usage.
Tip
Looking for a .NET Core example? Have a look.
Using Management Endpoints (.NET Framework)
This tutorial takes you through setting up a ASP.NET 4.x Framework application with cloud management endpoints and dynamic logging levels enabled.
Note
For more detailed examples, please refer to the Management projects in the Steeltoe Samples Repository.
Create a .NET Framework Web API project
- In Visual Studio (2019) choose to create a new project
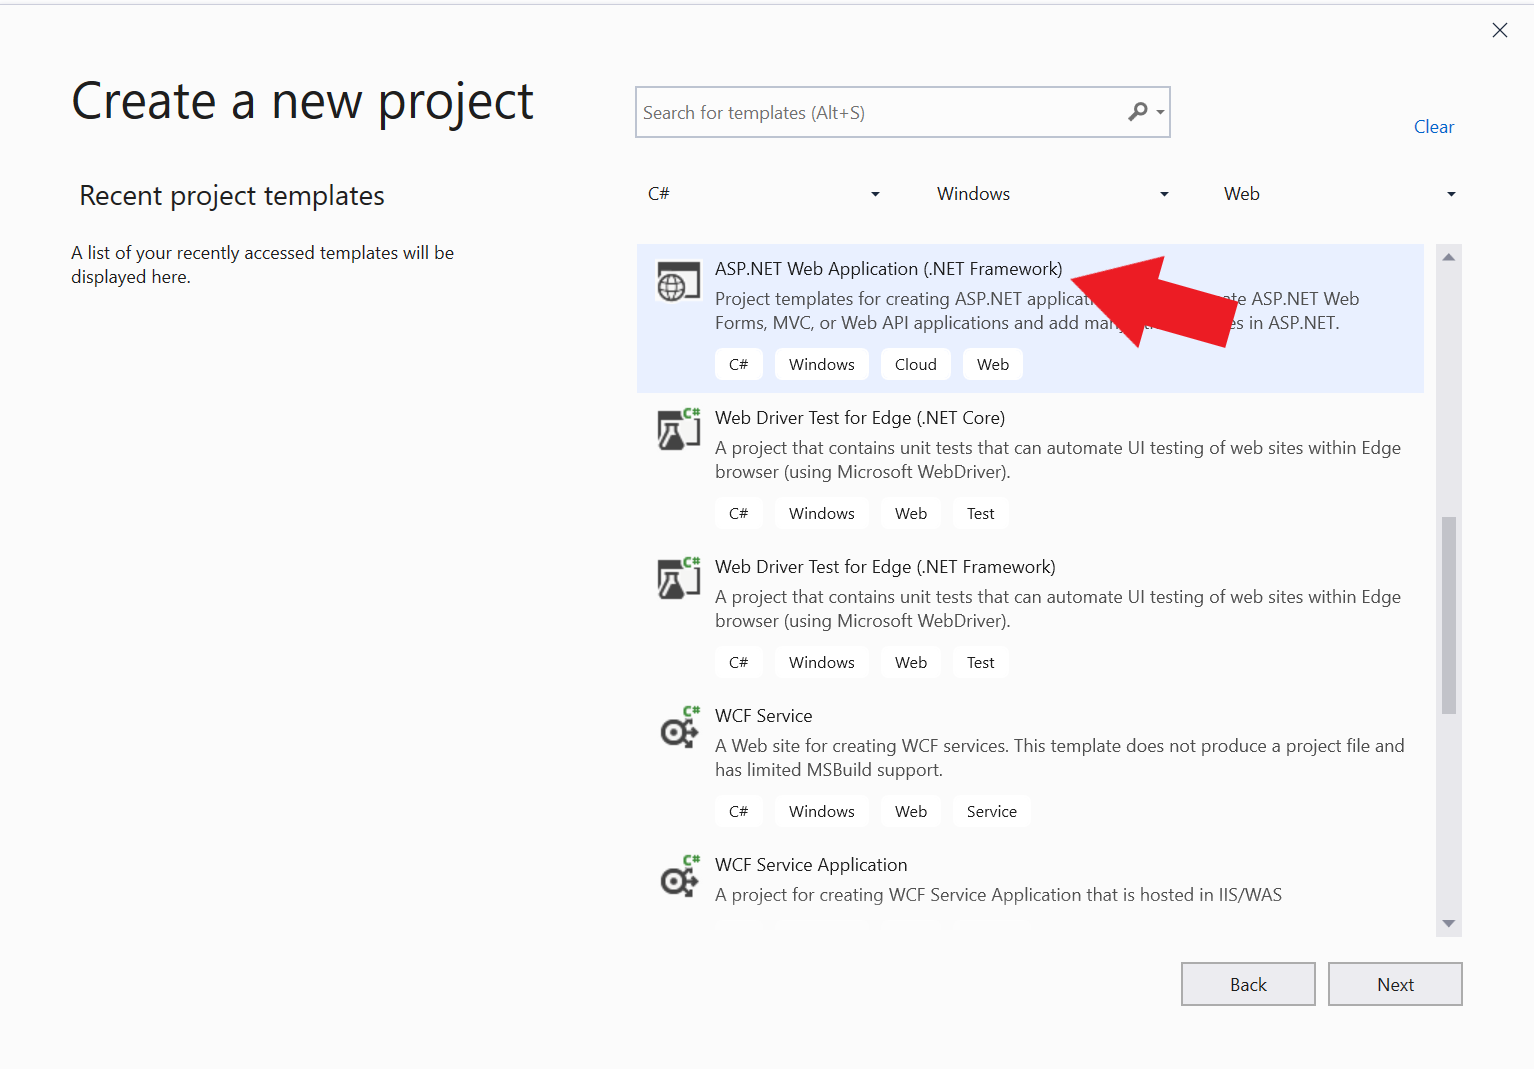
- Configure the new project with the follow values
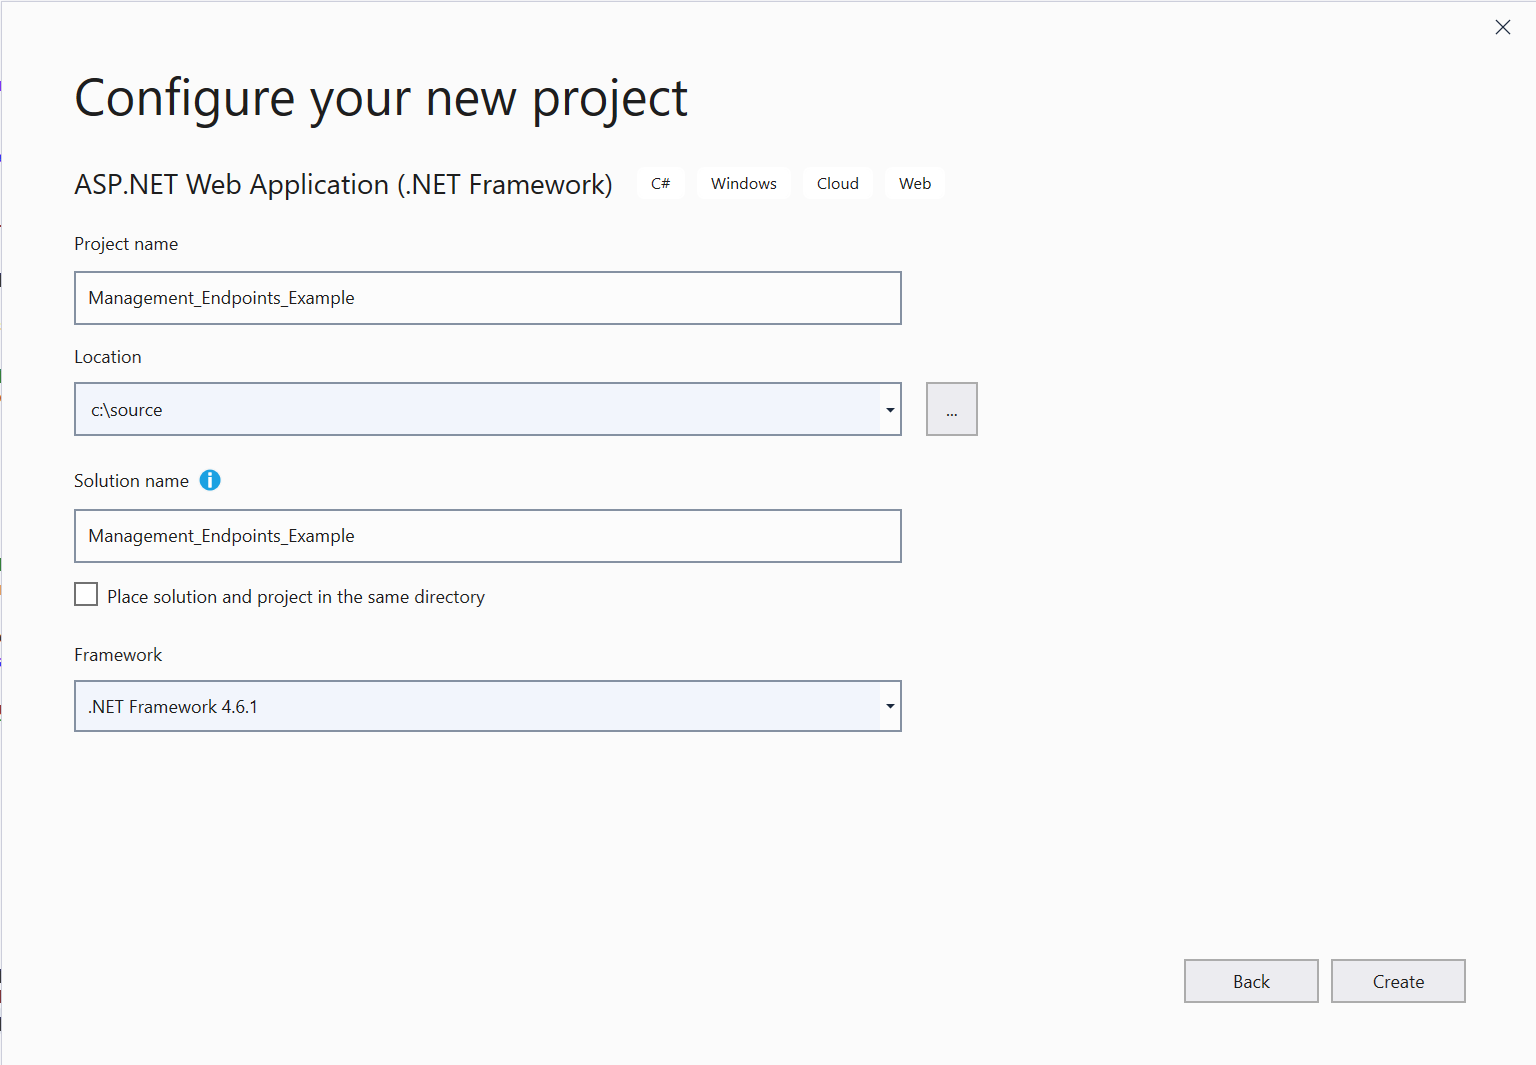
- Project Name: Management_Endpoints_Framework_Example
- Solution Name: Management_Endpoints_Framework_Example
- Framework: (>= 4.5)
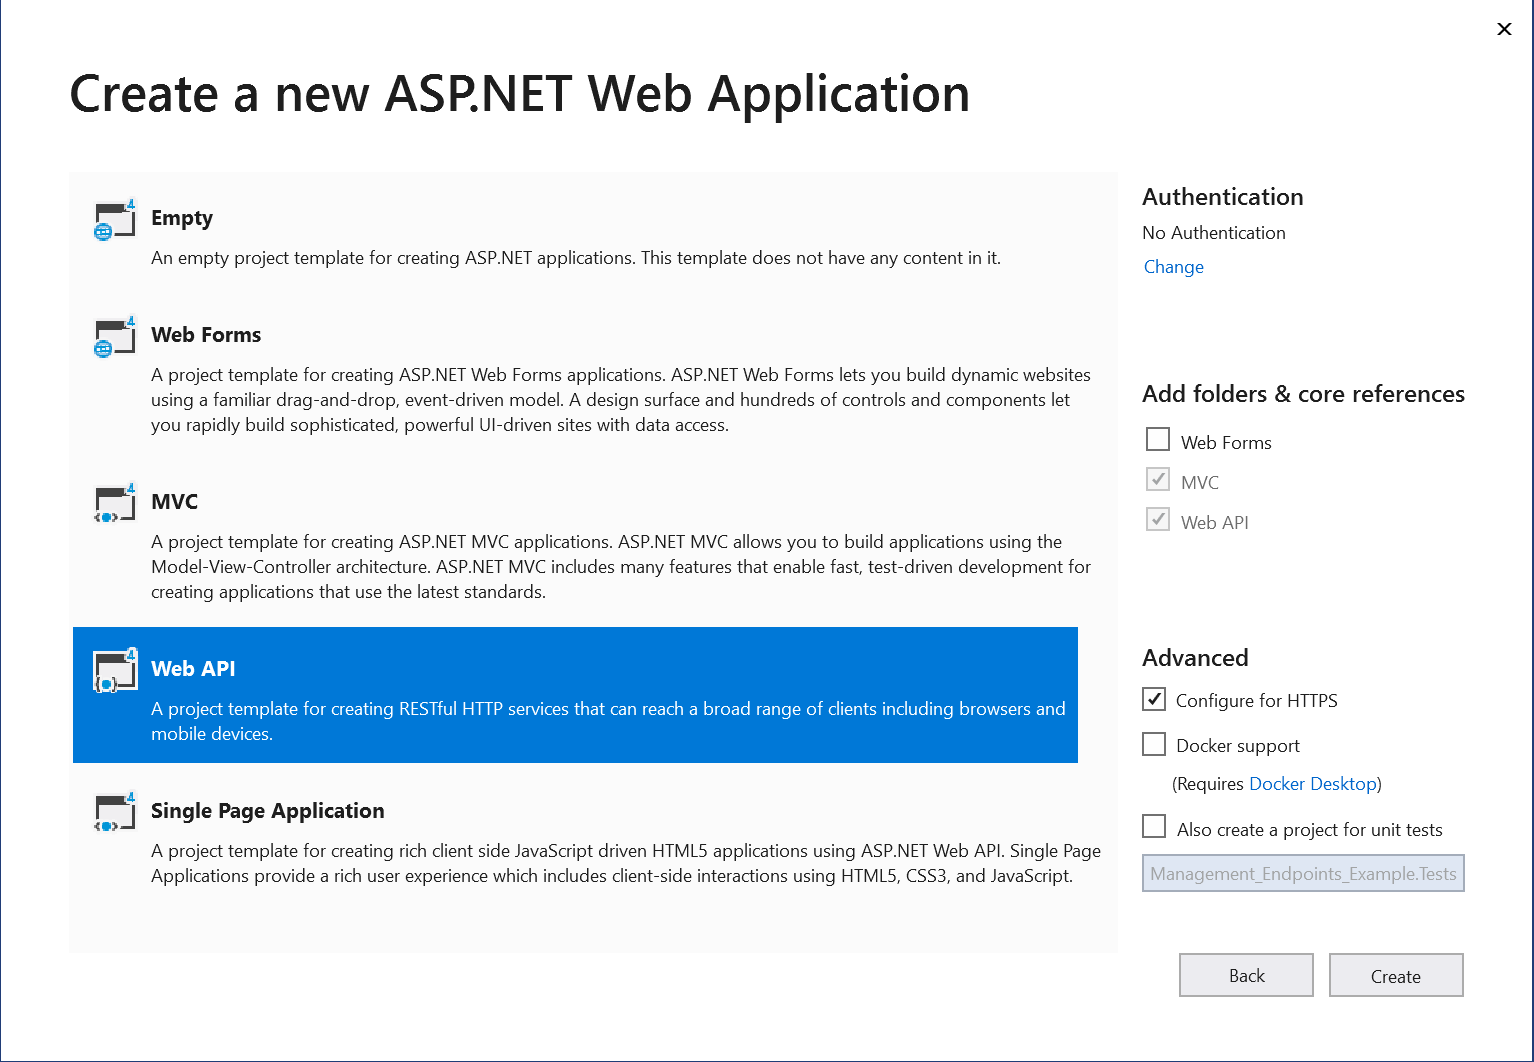
- Choose to create a new Web API project type
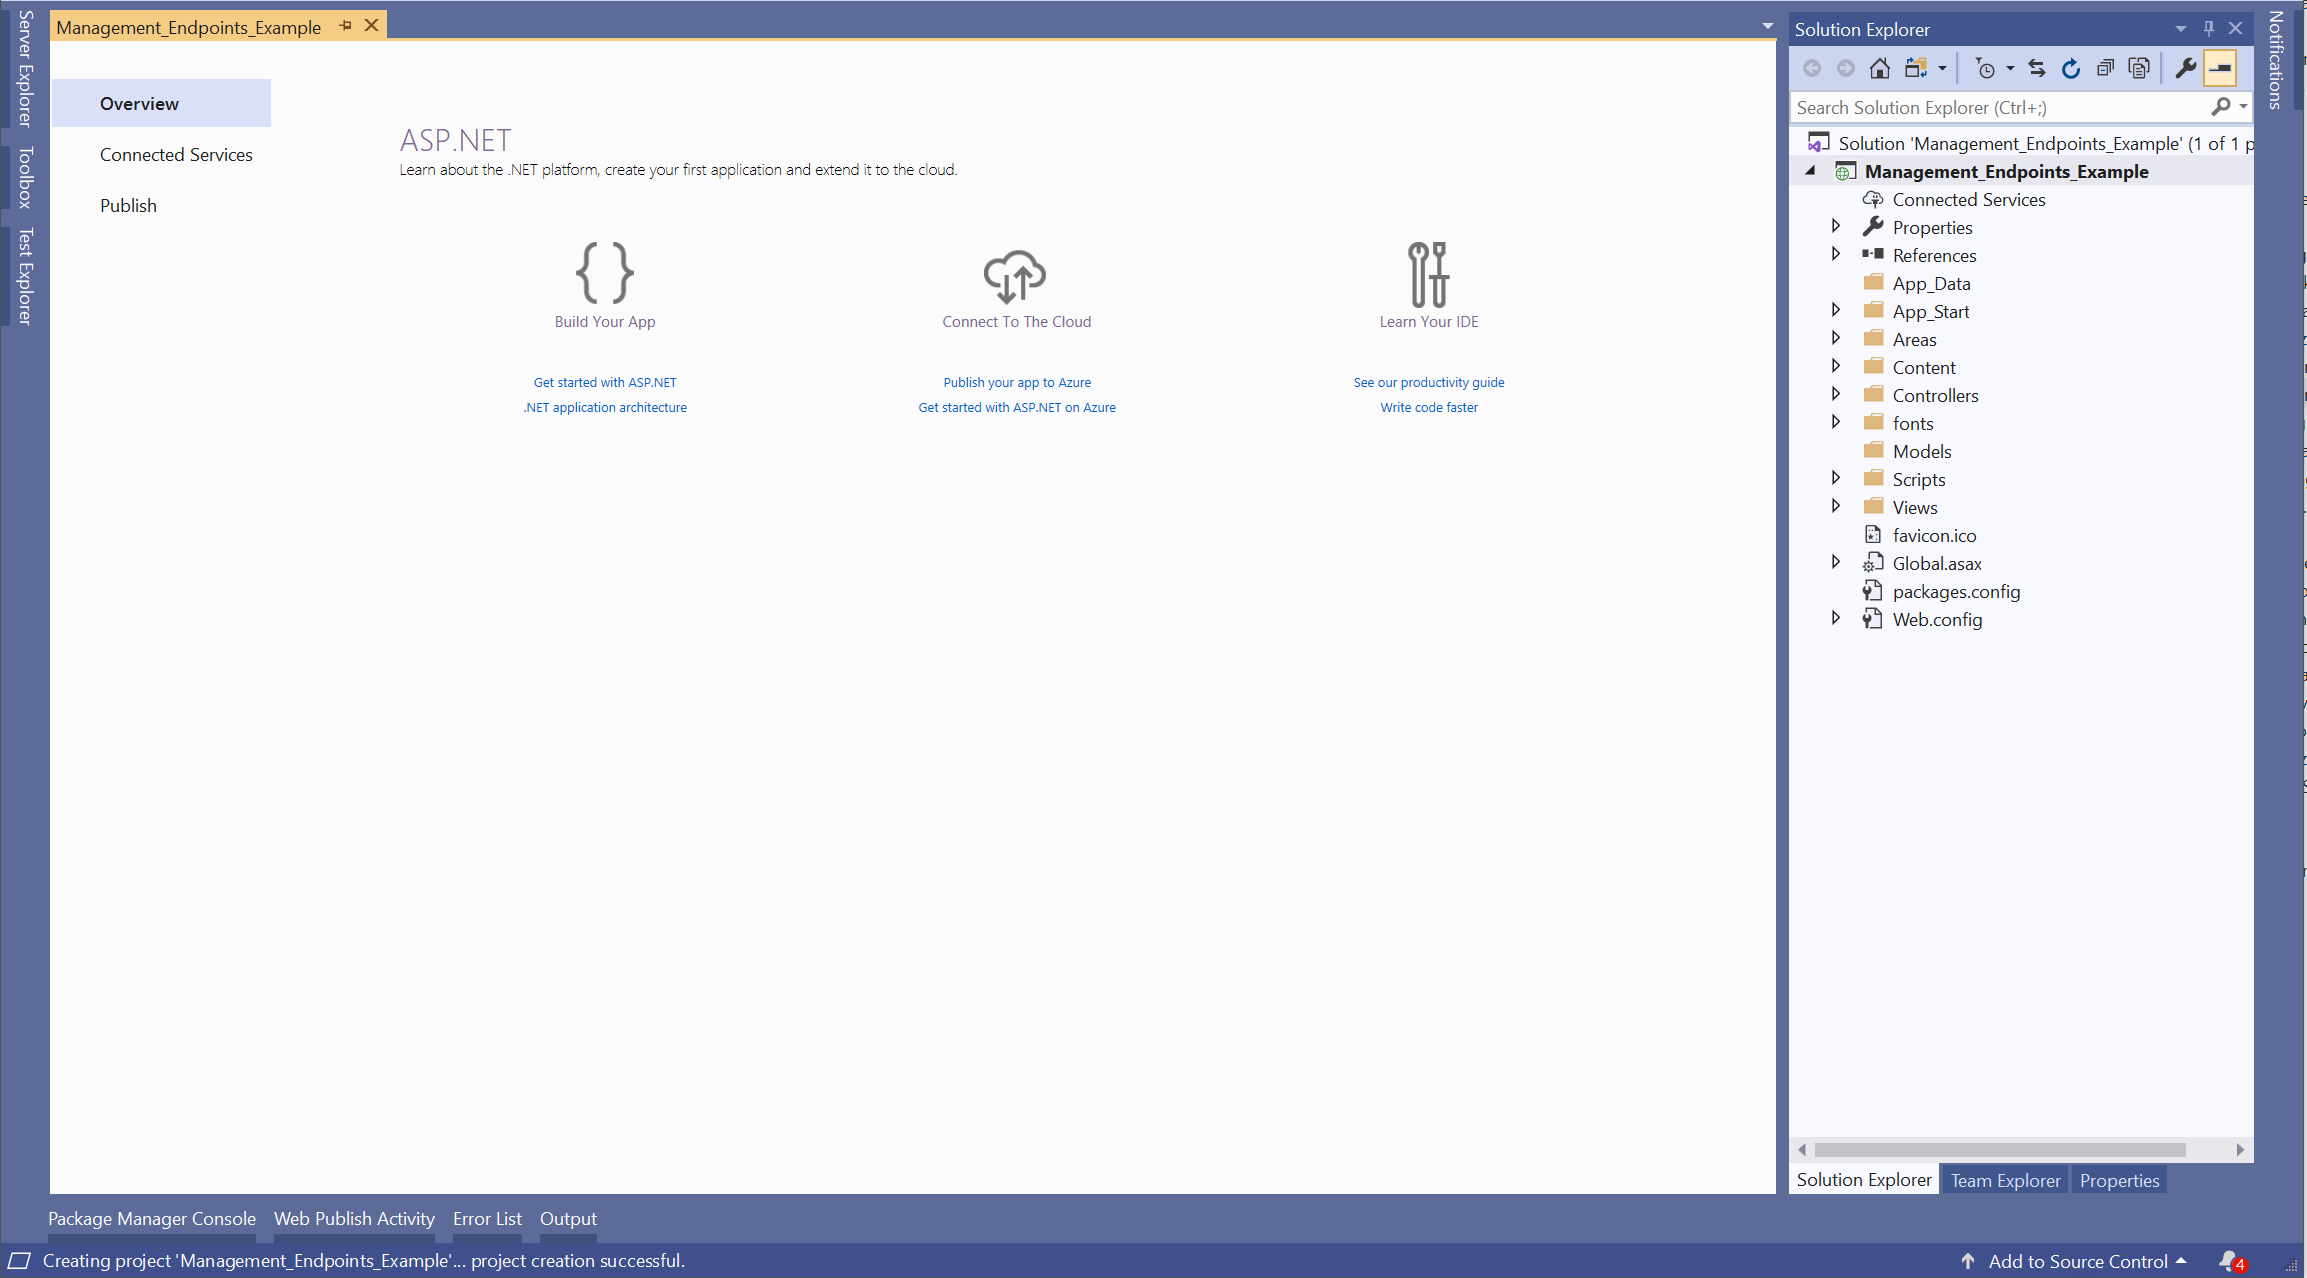
- Once created, the project should be loaded
Next, install packages needed
Open the package manager console
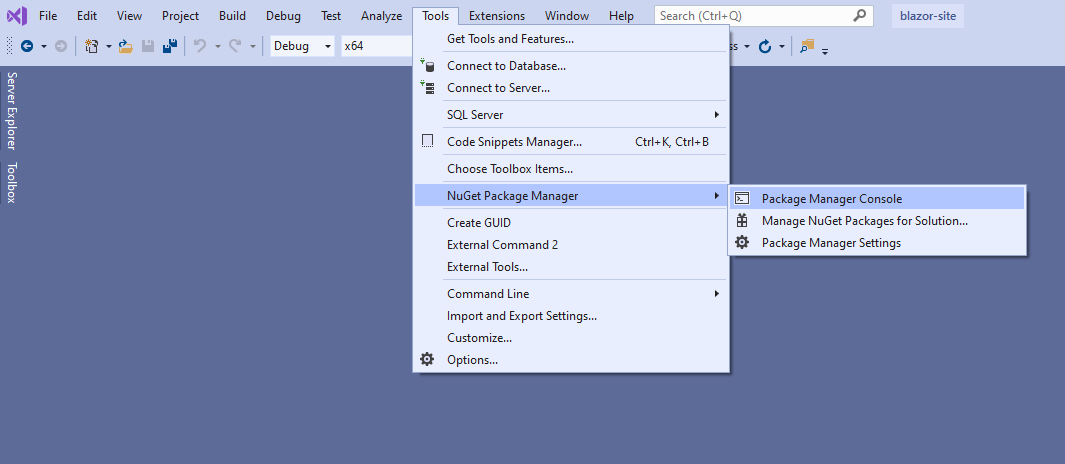
Install NuGet distributed packages
Install-Package Microsoft.Extensions.Configuration
Install-Package Microsoft.Extensions.Logging
Install-Package Microsoft.Extensions.Logging.Console
Install-Package OpenCensus -IncludePrerelease
Install-Package Steeltoe.Extensions.Logging.DynamicLogger
Install-Package Steeltoe.Management.EndpointBase
Install-Package Steeltoe.Extensions.Configuration.CloudFoundryBase
Install-Package Steeltoe.Management.EndpointWeb
Next, add actuators support classes
Create an appsettings.json file in the root of the project
{
  "Logging": {
    "IncludeScopes": true,
    "LogLevel": {
      "Default": "Debug",
      "System": "Information",
      "Microsoft": "Information",
      "Management": "Trace",
      "Steeltoe": "Trace"
    }
  },
  "management": {
    "endpoints": {
      "actuator": {
        "exposure": {
          "include": ["*"]
        }
      }
    }
  }
}
Note
Exposing all endpoints is not an ideal setting in production. This is for example only.
Create the ApplicationConfig.cs class in the
App_Startfolderusing System; using System.IO; using Microsoft.Extensions.Configuration; using Steeltoe.Extensions.Configuration.CloudFoundry; public class ApplicationConfig { public static CloudFoundryApplicationOptions CloudFoundryApplication { get { var opts = new CloudFoundryApplicationOptions(); var appSection = Configuration.GetSection(CloudFoundryApplicationOptions.CONFIGURATION_PREFIX); appSection.Bind(opts); return opts; } } public static CloudFoundryServicesOptions CloudFoundryServices { get { var opts = new CloudFoundryServicesOptions(); var serviceSection = Configuration.GetSection(CloudFoundryServicesOptions.CONFIGURATION_PREFIX); serviceSection.Bind(opts); return opts; } } public static IConfigurationRoot Configuration { get; set; } public static void Configure(string environment) { // Set up configuration sources. var builder = new ConfigurationBuilder() .SetBasePath(GetContentRoot()) .AddJsonFile("appsettings.json", optional: false, reloadOnChange: false) .AddJsonFile($"appsettings.{environment}.json", optional: true) .AddEnvironmentVariables() .AddCloudFoundry(); Configuration = builder.Build(); } public static string GetContentRoot() { var basePath = (string)AppDomain.CurrentDomain.GetData("APP_CONTEXT_BASE_DIRECTORY") ?? AppDomain.CurrentDomain.BaseDirectory; return Path.GetFullPath(basePath); } }Create the ManagementConfig.cs class in the
App_Startfolderusing Microsoft.Extensions.Configuration; using Microsoft.Extensions.Logging; using System.Collections.Generic; using System.Web.Http.Description; using Steeltoe.Common.Diagnostics; using Steeltoe.Common.HealthChecks; using Steeltoe.Management.Endpoint; using Steeltoe.Management.Endpoint.Health.Contributor; public class ManagementConfig{ public static void ConfigureManagementActuators(IConfiguration configuration, ILoggerProvider dynamicLogger, IApiExplorer apiExplorer, ILoggerFactory loggerFactory = null){ ActuatorConfigurator.UseCloudFoundryActuators(configuration, dynamicLogger, GetHealthContributors(configuration), apiExplorer, loggerFactory); } public static void Start(){ DiagnosticsManager.Instance.Start(); } public static void Stop(){ DiagnosticsManager.Instance.Stop(); } private static IEnumerable<IHealthContributor> GetHealthContributors(IConfiguration configuration){ var healthContributors = new List<IHealthContributor>{ new DiskSpaceContributor() }; return healthContributors; } }Update Web.config handlers
<configuration>

  ...

  <system.webServer>
    ...
    <validation validateIntegratedModeConfiguration="false" />
    <handlers>
    <remove name="ExtensionlessUrlHandler-Integrated-4.0" />
    <remove name="OPTIONSVerbHandler" />
    <remove name="TRACEVerbHandler" />
    <add name="ExtensionlessUrlHandler-Integrated-4.0" path="*." verb="*" type="System.Web.Handlers.TransferRequestHandler" preCondition="integratedMode,runtimeVersionv4.0" />
    </handlers>
    ...
  </system.webServer>

  ...

</configuration>
Create the LoggingConfig.cs class in the
App_Startfolderusing Microsoft.Extensions.Configuration; using Microsoft.Extensions.DependencyInjection; using Microsoft.Extensions.Logging; using Steeltoe.Extensions.Logging; public static class LoggingConfig { public static ILoggerFactory LoggerFactory { get; set; } public static ILoggerProvider LoggerProvider { get; set; } public static void Configure(IConfiguration configuration) { IServiceCollection serviceCollection = new ServiceCollection(); serviceCollection.AddLogging(builder => { builder .SetMinimumLevel(LogLevel.Trace) .AddConfiguration(configuration) .AddDynamicConsole(); }); var serviceProvider = serviceCollection.BuildServiceProvider(); LoggerFactory = serviceProvider.GetService<ILoggerFactory>(); LoggerProvider = serviceProvider.GetService<ILoggerProvider>(); } }Modify Application_Start and Application_stop in Global.asax.cs
using System.Web.Http;
using System.Web.Mvc;
using Management_Endpoints_Framework_Example.App_Start;

protected void Application_Start() {
  // Create applications configuration
  ApplicationConfig.Configure("development");

  // Create logging system using configuration
  LoggingConfig.Configure(ApplicationConfig.Configuration);

  // Add management endpoints to application
  ManagementConfig.ConfigureManagementActuators(
    ApplicationConfig.Configuration,
    LoggingConfig.LoggerProvider,
    GlobalConfiguration.Configuration.Services.GetApiExplorer(),
    LoggingConfig.LoggerFactory);

  // Start the management endpoints
  ManagementConfig.Start();
}
protected void Application_Stop(){
  ManagementConfig.Stop();
}
Run the application
- Choose the top Debug menu, then choose Start Debugging (F5). This should bring up a browser with the app running
- Navigate to the management endpoints summary page (you may need to change the port number) http://localhost:8080/actuator
Once the summary page loads, you will see a list of all available management endpoints that have been automatically created. Click each link to see what information is offered.